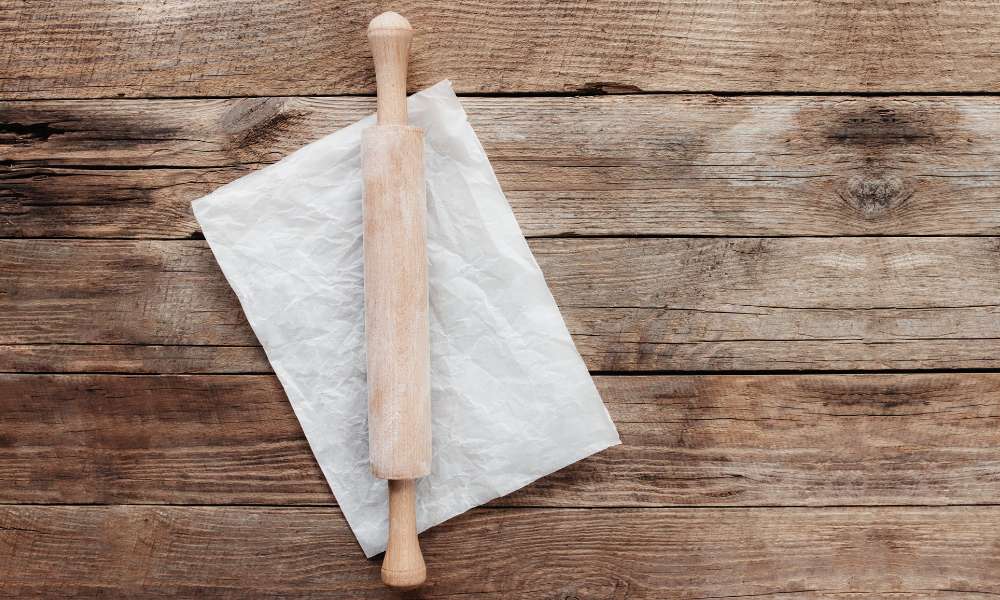
A well-loved wooden rolling pin is more than just a kitchen tool—it’s an essential companion in crafting everything from delicate pastries to hearty bread. However, to keep it in top shape, knowing how to season a wooden rolling pin is key. Seasoning involves treating the wood with natural oils, creating a protective barrier that prevents cracks, reduces sticking, and enhances the pin’s durability. Without regular seasoning, your rolling rod could dry out, absorb odors, or even warp over time. In this guide, we’ll walk you through the simple but essential steps to season your wooden rolling pin properly, ensuring it remains smooth, safe, and ready for every culinary adventure.
What is Seasoning, and Why is it Important?
Seasoning, in the context of wooden kitchen tools, refers to the process of treating the wood with natural oils to create a protective layer. This layer helps repel moisture, prevents food from sticking, and shields the wood from absorbing stains or odors. Seasoning not only improves the tool’s longevity but also enhances its performance. Common misconceptions suggest seasoning is merely aesthetic; however, its primary purpose is functional, safeguarding your wooden rolling rod from natural wear and tear.
Materials Needed for Seasoning
Before beginning the seasoning process, gather the essential materials to ensure success:
- Oils for Seasoning: Choose food-safe options like mineral oil, beeswax, or fractionated coconut oil. These oils will not go rancid and can withstand frequent use.
- Cleaning Supplies: Use soft cloths, mild soap, and lukewarm water to clean the rolling pin before seasoning.
- Optional Tools: A lint-free cloth or small brush can help in applying the oil evenly across the surface of the rolling rod.
Step 1: Pre-Seasoning Preparation
To start, thoroughly clean the rolling pin to remove any dust, flour, or residual oils. Avoid soaking the wood; instead, use a damp cloth and mild soap to clean it gently. Rinse with a clean cloth to remove soap residue, and dry the rotary pin immediately. Ensuring it’s fully dry before seasoning is essential, as any moisture trapped in the wood could lead to warping over time.
Step 2: Choosing the Right Oil for Seasoning
The choice of oil impacts both the effectiveness and longevity of the seasoning. Food-grade mineral oil is a popular choice due to its stability and non-rancid properties. Beeswax is another excellent option, adding a slightly thicker, more protective layer. Avoid oils like olive or vegetable oil, as these can become rancid and emit unpleasant odors. Coconut oil, especially fractionated types, can also work well due to its long-lasting and non-sticky qualities.
Step 3: Applying the Oil
Begin by applying a small amount of oil to a lint-free cloth. Rub the oil gently onto the rolling pin’s surface, ensuring an even layer. Start with the handles and gradually cover the entire surface. Aim for a thin, consistent layer, as over-oiling can leave the wood feeling greasy. Use slow, circular motions to allow the oil to seep deeply into the wood, creating that essential barrier against moisture and wear.
Step 4: Letting the Oil Absorb
Once the oil has been applied, allow it to absorb into the wood. Leave the rolling pin in a well-ventilated area for several hours or even overnight. This patience is key to achieving a durable finish. If you’re looking to achieve a richer finish, reapply a second thin layer of oil once the first has fully absorbed.
Step 5: Buffing the Rolling Pin
Buffing brings a final, smooth touch to the rolling rod’s surface. Use a clean, dry cloth to gently polish the rotary pin, removing any excess oil and ensuring a non-stick, sleek finish. This buffing process enhances the rolling rod’s natural texture and prepares it for effortless use with even the stickiest dough.
Additional Methods: Seasoning with Beeswax or Coconut Oil
For extra durability, consider incorporating beeswax. Melt a small amount of beeswax and mix it with mineral oil before applying. Beeswax offers superior water resistance, adding a robust, smooth layer to the rotary pin. Coconut oil is another alternative, adding a natural fragrance and excellent longevity. Both these options provide an additional layer of protection, extending the life of your rolling rod.
How Often Should You Season a Wooden Rolling Pin?
The frequency of seasoning depends on the rolling rod’s usage. For those who bake often, a monthly re-seasoning may be beneficial. Occasional bakers can season their rotary pin once every few months. Signs that your rotary pin needs re-seasoning include a dull or dry appearance, slight cracking, or rough patches. A well-maintained rolling rod will feel smooth and emit a faint, pleasant smell of the oil used.
Caring for Your Seasoned
A seasoned rolling rod deserves thoughtful care. After each use, wipe it clean with a damp cloth, avoiding prolonged contact with water. Never soak a wooden rolling rod, as this can strip the seasoning and damage the wood. Store it in a dry place, away from direct sunlight. With occasional light re-oiling, you’ll preserve its smooth surface and prevent the wood from drying out.
Benefits of Properly Seasoning
The benefits of a well-seasoned rolling rod extend far beyond aesthetics. A seasoned surface prevents dough from sticking, creating a seamless experience with each roll. Seasoning also prolongs the rotary pin’s life, ensuring it remains a valued kitchen companion over the years. Additionally, the protective barrier promotes hygiene by preventing moisture and bacteria from settling in the wood.
Conclusion
Seasoning a wooden rotary pin is an investment in both functionality and longevity. With the right approach, your rolling rod will retain its smooth texture, resist sticking, and remain resilient over the years. Taking a few minutes to season and maintain your wooden tools will not only enhance your baking but also ensure these cherished kitchen items stand the test of time. So experiment with different oils, explore new techniques, and make seasoning a rewarding part of your culinary routine.
