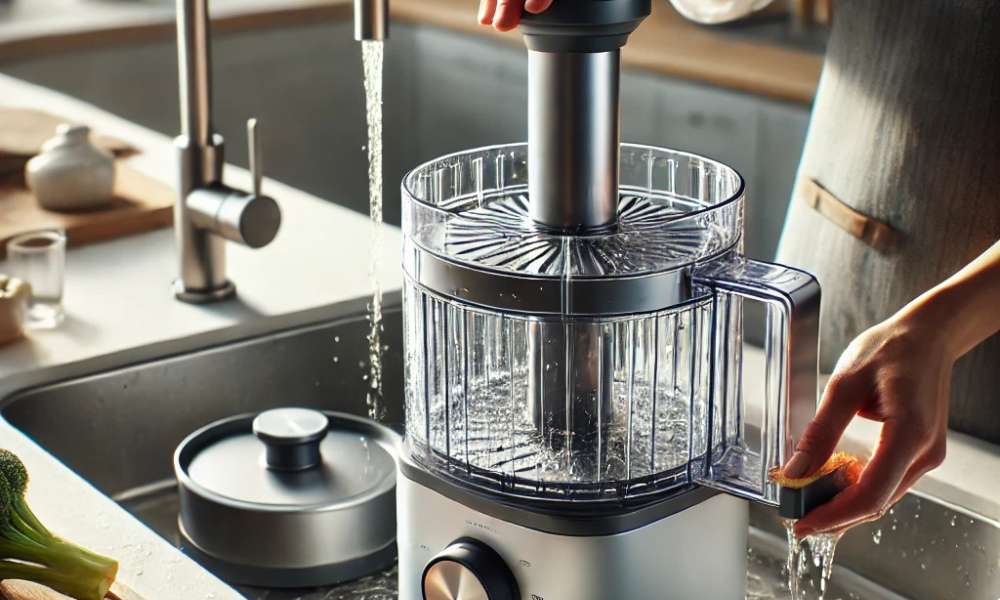
A vegetable chopper is an indispensable tool in the modern kitchen, offering speed and efficiency when preparing meals. However, its convenience comes with a caveat—regular cleaning is essential. A clean vegetable chopper not only ensures food safety but also extends the tool’s lifespan, preserving its functionality. Neglecting this task can lead to bacterial growth, compromised food taste, and eventual equipment damage. By understanding how to clean a vegetable chopper, you safeguard your health and culinary experience.
Why Cleaning Your Vegetable Chopper is Essential
Every slice, chop, or dice leaves behind traces of food, some of which are invisible to the naked eye. These remnants can foster bacterial growth if not properly cleaned, posing significant health risks. Additionally, leftover debris can blend into subsequent dishes, altering their taste and aroma. Regular cleaning also prevents wear and tear, ensuring your chopper remains as efficient as the day you bought it. Simply put, maintaining your chopper is non-negotiable for safe and flavorful cooking.
Tools and Materials Needed for Cleaning a Vegetable Chopper
Before diving into the cleaning process, gather the essentials. The right tools can make all the difference:
- Warm Water
- Mild Dish Soap
- Small Brush or Toothbrush
- Toothpicks or Skewers
- Vinegar or Baking Soda
- Gloves for safety when handling sharp blades.
Having these items on hand ensures a smooth and efficient cleaning process.
Step-by-Step Guide on How to Clean a Vegetable Chopper
1. Disassembling the Chopper
Start by carefully disassembling your chopper. Remove the blades, container, and any detachable parts. Refer to the manufacturer’s instructions if unsure. This step minimizes the risk of damaging components while ensuring a thorough clean.
2. Pre-Rinsing the Parts
Rinse each part under warm running water to remove visible debris. This simple act prevents food particles from hardening, making the subsequent cleaning steps easier.
3. Cleaning the Blades Safely
Blades are the heart of the chopper but also its most dangerous component. Use a small brush to clean them, avoiding direct hand contact to prevent injuries. Pay extra attention to the edges where residue often accumulates.
4. Cleaning the Container and Lid
Plastic and glass containers require delicate handling to avoid scratches. Use a soft sponge with mild soap. For lids, which often trap odors, a baking soda paste can work wonders.
5. Tackling Stubborn Stains and Residue
For persistent stains, soak the parts in a solution of equal parts vinegar and water for 15 minutes. Scrub gently with a sponge or brush, and rinse thoroughly.
6. Cleaning Hard-to-Reach Areas
Tiny food particles can lodge in the nooks and crannies of your chopper. Toothpicks or skewers are excellent tools for extracting these. For intricate designs, compressed air can blow out debris efficiently.
7. Rinsing and Drying
Once all parts are clean, rinse thoroughly to remove soap residue. Dry each component with a lint-free cloth or air dry them on a clean surface to prevent mold and rust.
How to Clean an Electric Vegetable Chopper
Electric choppers require special attention. Avoid immersing the motor base in water. Instead, wipe it down with a damp cloth. For removable parts, follow the steps above. Ensure all components are completely dry before reassembling to prevent electrical hazards.
Maintenance Tips for Keeping Your Chopper Clean Longer
- Immediate Cleaning: Rinse parts right after use to avoid residue buildup.
- Dry Storage: Keep your chopper in a dry, well-ventilated area to prevent mold.
- Regular Inspections: Check for worn or damaged parts and replace them promptly.
Common Mistakes to Avoid
- Using Harsh Chemicals: They can damage plastic and metal parts.
- Overlooking Small Crevices: Neglecting these areas can lead to bacterial growth.
- Improper Drying: Moisture can cause rust and degrade the chopper’s performance.
Eco-Friendly Cleaning Alternatives
Natural solutions are effective and environmentally friendly. Lemon juice can dissolve grease, while baking soda acts as a mild abrasive for scrubbing stains. Reusable brushes and cloths reduce waste and are kind to the planet.
Conclusion
Maintaining a clean vegetable chopper is not just a chore—it’s an investment in your health and culinary endeavors. By following these steps, you ensure that your tool remains efficient, safe, and long-lasting. Embrace the habit of regular cleaning and enjoy the benefits of fresh, uncontaminated meals. Share them below and help others master the art of how to clean a vegetable chopper!
