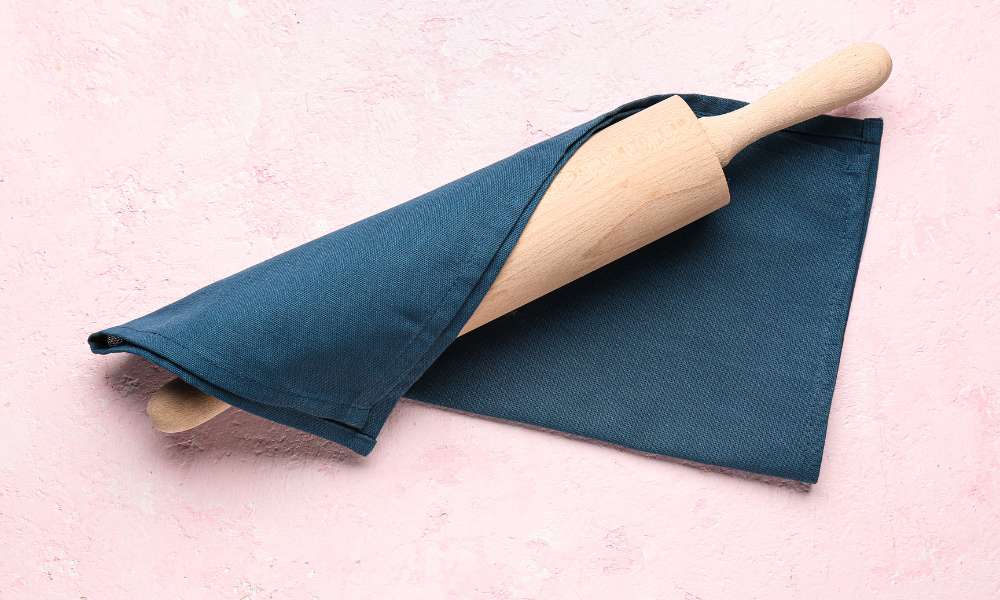
Wooden rolling pins have been a staple in kitchens for centuries, cherished not only for their functionality but also for their timeless aesthetic. Yet, their porous nature demands special care. Unlike their metal or plastic counterparts, wooden rolling pins can absorb flavors, harbor bacteria, and develop cracks if not properly maintained. Keeping your wooden rolling pin clean is essential, not only for the quality of your culinary creations but also for your health. This guide provides all the information you need to maintain a clean and long-lasting rolling pin, offering techniques for effective cleaning, removing stubborn stains, and maintaining the wood for years of use.
2. Why Proper Cleaning is Important
Food particles often cling to the wood’s surface, embedding themselves into the grain. Over time, these remnants can lead to unsightly stains and unpleasant odors, detracting from the overall experience of using the tool. The natural fibers in wood also make it more susceptible to mold growth and bacterial accumulation if left unchecked. A rolling pin that’s properly cared for helps ensure the cleanliness of everything it touches, maintaining both the integrity of the wood and the flavor of your baked goods. Moreover, regular cleaning and maintenance can add years to the lifespan of your rotary pin, protecting it from premature wear.
3. Materials Needed for Cleaning
Cleaning a wooden rotary pin requires only a few basic materials. At the top of the list are:
- Mild Dish Soap
- Warm Water
- Soft Cloth or Sponge
- Drying Towel
- Optional Materials: Baking soda, vinegar, lemon juice, or salt for stubborn stains and lingering odors.
These items make up an effective arsenal for maintaining a pristine rotary pin without the need for harsh chemicals or abrasive tools.
4. Step-by-Step Guide to Cleaning
Cleaning your rolling pin is a straightforward process, but precision is key:
1. Remove Excess Dough or Flour
Start by using a dry cloth or a soft brush to remove any loose particles of flour or dough. The more you can remove dry, the less scrubbing you’ll need with water.
2. Rinse with Warm Water
Gently rinse the rotary pin under warm water. Avoid soaking, as too much water can lead to swelling or warping.
3. Use Mild Dish Soap
Apply a small amount of mild dish soap to a soft cloth. Gently rub it along the surface, paying special attention to any areas with visible stains or residues.
4. Rinse and Wipe Off Soap Residue
Rinse the soap off thoroughly, ensuring no suds remain. Leftover soap can affect the wood’s texture and may even seep into your food next time you use the rolling pin.
5. Dry Immediately
Pat the rolling rod dry with a towel right away, removing as much moisture as possible. Then, allow it to air-dry in a well-ventilated area to eliminate any remaining dampness.
5. Removing Stubborn Stains and Odors
Sometimes, simple soap and water aren’t enough. For more persistent stains and odors, natural remedies can be surprisingly effective:
- Using Baking Soda and Vinegar: Combine these two to create a thick paste. Apply it to the stained area, letting it sit for a few minutes before gently scrubbing.
- Using Lemon Juice: Known for its natural deodorizing properties, lemon juice can help combat any lingering smells on the wood.
- Using Salt: Salt is an excellent gentle abrasive. Sprinkle a small amount on the rotary pin and rub it with a damp cloth, then rinse.
These methods help tackle even the toughest residues, keeping your rotary pin looking and smelling fresh.
6. Things to Avoid When Cleaning
Avoid soaking your rolling rod in water; doing so can cause swelling, cracking, and warping. Refrain from using harsh chemicals or abrasive scrubbing pads that can damage the wood. Dishwashers are also out of the question—the heat and water pressure can easily ruin the rotary pin. Direct sunlight, which may dry the wood too quickly, should also be avoided as it can lead to cracking.
7. How to Disinfect a Wooden Rolling Pin
While wood is naturally resistant to some bacteria, occasional disinfecting is a good practice. Opt for natural disinfectants such as:
- White Vinegar: Its acidity kills bacteria without compromising the wood’s integrity. Simply dampen a cloth with vinegar, wipe the surface, and allow it to air dry.
- Hydrogen Peroxide: Effective and gentle, hydrogen peroxide can also be used sparingly on wood.
These methods ensure that your rotary pin is not only clean but safe to use for your next culinary adventure.
8. Maintaining for Long-Term Use
A rolling rod requires more than just occasional cleaning to stay in prime condition:
- Seasoning with Oil: Food-grade mineral oil or beeswax can be applied periodically to keep the wood moisturized. Rub a small amount over the entire surface, allowing it to soak in before wiping off any excess.
- Regular Inspection: Check for signs of wear, such as cracks or splits, that could worsen over time if not addressed.
- Proper Storage: Store your rolling rod in a cool, dry place, away from moisture and temperature extremes, to prevent any warping or damage.
With regular upkeep, your rotary pin will remain an invaluable tool in your kitchen for years to come.
FAQs About Cleaning
Can I put my wooden rolling pin in the dishwasher?
No, dishwashers can damage the wood by exposing it to excessive moisture and heat.
How often should I clean my wooden rolling pin?
Clean your rolling pin after each use to prevent buildup and maintain hygiene.
Is it safe to use bleach on a wooden rolling pin?
Bleach should be avoided, as it can be too harsh and may damage the wood.
Conclusion
Keeping a wooden rotary pin clean is a simple task, yet one that significantly impacts both the tool’s longevity and the quality of the food you create with it. By incorporating these cleaning and maintenance practices into your routine, you’ll ensure your rotary pin remains as reliable and aesthetically pleasing as the day you bought it. Follow these steps, and your wooden rotary pin will continue to bring joy to your baking for many years to come.